Below the Sills: The November Underbody Rinse That Earns Its Hour
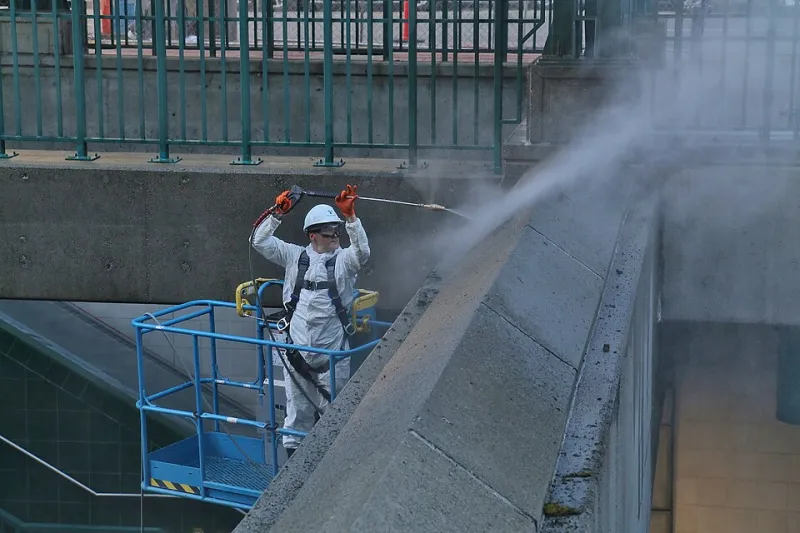
Photo: SounderBruce, CC BY-SA 4.0, via Wikimedia Commons
By the second week of November, the local roads have usually had their first proper salting. You can hear it before you see it: that dry crunch under the tyres, then the pale grey film along the lower doors. Most of us react by giving the wheel arches a quick blast with the pressure washer and calling it done. It looks satisfying. It also misses most of the places that matter.
This is the underbody hour: not a concours-level chassis detail, not a replacement for proper rust treatment, just a sensible seasonal rinse that gets the grit out of the places UK cars actually rot from. Done right, it takes about an hour, uses no special chemicals, and leaves your driveway looking roughly as it did before.
Why the obvious arch blast misses the point
Road salt does not politely stay inside the wheel arch liner. It gets thrown up along the sills, trapped around the jacking points, and sprayed into the rear subframe and suspension arms. It settles on the fuel tank straps, the spare wheel well, the inner edges of the rear quarters, and the lip where the sill meets the floor pan. A quick pass at each arch at close range mostly moves the worst of it around and soaks one small patch of tarmac.
The real problem is the horizontal ledges. Salt-laden water sits there, dries, and leaves a salty crust. Next damp morning, it re-wets. Repeat that through a British winter and you have the classic recipe for bubbling sills and crusty rear beams. You are not trying to make the underside shiny. You are trying to dilute and remove the grit before it gets comfortable.
What you need — and what you can leave in the cupboard
A pressure washer with an adjustable fan tip is ideal, but a garden hose with a decent nozzle will do more than nothing. You need a pair of ramps, wheel chocks, a torch, gloves, and an old towel. A cheap pump sprayer filled with plain water is handy for softening crud before you blast it.
What you do not need is a foam cannon, a bucket of traffic film remover, or a jack. Never work under a car held up only by a trolley jack. Ramps on level ground, handbrake on, rear wheels chocked, and someone nearby who knows you are out there — that is the baseline. If your driveway slopes, find somewhere flat or leave it to a garage.
Setting up without soaking the neighbours
Pick a dry, calm morning when daylight is actually on your side. November afternoons go dark fast, and a torch in one hand and a pressure washer in the other is a poor combination. Position the car so runoff flows away from garage doors, garden walls, and next door's freshly swept path. If your driveway drains to a surface water drain, keep detergents out of it. Plain water carrying road grime is one thing; a citrus degreaser heading for the local brook is another.
Work in sections and use the widest fan tip that still shifts dirt. Keep the nozzle moving. Hold it too close and you will strip underseal, push water past seals, or blast grit into places it should not be. A gentle, repeated pass beats a fierce one every time. If the driveway starts to puddle, stop, sweep the runoff towards a drain or lawn edge, and let it settle before carrying on.
The sequence: top to bottom, back to front
Start at the rear. Rinse the inner arches from the top down, then the lip of the rear quarter, the sill end, and the area around the jacking points. Move along the sill underside, then into the rear subframe, suspension arms, spring seats, and fuel tank straps. Give the spare wheel well and rear valance a pass. Then work forward along the floor pan, the front subframe, the lower front arches, and finally the front sill ends.
Use the torch to look, not just spray. You are checking for trapped grit, flaking underseal, and any soft spots that deserve a proper look later. Two calm passes over the whole underside are better than one frantic one. If you find heavy, oily crud, resist the urge to blast it into a mist. Soften it, wipe what you can reach, and consider a proper steam clean or garage visit if it is thick.
What not to spray
Keep a sensible distance from electrical connectors, the fuse box, the alternator, and any exposed wiring. Avoid direct high-pressure blasts at CV boots, wheel bearings, brake caliper seals, ABS sensors, fuel lines, and brake pipes. A light rinse is fine; a jet aimed straight at a rubber boot is how you turn a cheap wash into an expensive noise. Skip the door seals and sunroof drains too. And leave the exhaust alone until it is cold — a hot cat and a cold jet is not a fair fight.
Drying and the first drive
Once you are done, take the car for a short drive rather than parking it wet in a closed garage. Gentle braking for the first few miles helps dry the discs and pads; avoid a motorway run straight away. You may hear a little squeal or scrape as the brakes clear, which is normal. Leave the garage door open for an hour if you can, and towel dry the visible sill edges and lower doors. A wet car in a cold, sealed garage is just a damp invitation.
When a proper chassis wax is worth the money
If you plan to keep the car, live in a rural or coastal area, or drive the same salted roads every winter, a lanolin-based chassis wax or a proper cavity treatment is money well spent. It is not a five-minute driveway job, though. The underside needs to be clean and dry, and the product has to go on the right places — not on brakes, exhausts, or rubber bushes. For an older car with surface rust already showing, get advice before you seal anything in. Wax over active corrosion just hides the problem.
An hour under the car in November will not make it immortal. It will, however, get the salt off the sills, subframe, and rear suspension before it settles in for the season. That is a decent use of a dry Saturday — and your neighbours will barely notice you did it.